


Google Developer Days Europe 2017 is now a history. I’m not going to do another review of this generally highly rated conference organized by the Mountain View giant. Instead, I’ll do a recap of one of the training session I had an opportunity to attend (I guess you already guessed the name of it, by the title of the article).
Android Things? What is it exactly?
I’ve been interested in Android Things for quite some time now. I just waited for a perfect opportunity to jump in. Despite the whole disappointment being at GDD gave me such chance. This is the story about how I used it.
If you’re unfamiliar with Android things you might wanna catch up with some basic information: https://developer.android.com/things/hardware/index.html
Long story short – it’s another framework that lets us create single-purpose devices written in Android. There are a number of devices that can be used with that. Two most popular are:
- Rasbery Pi3
- NXP Pico Pro

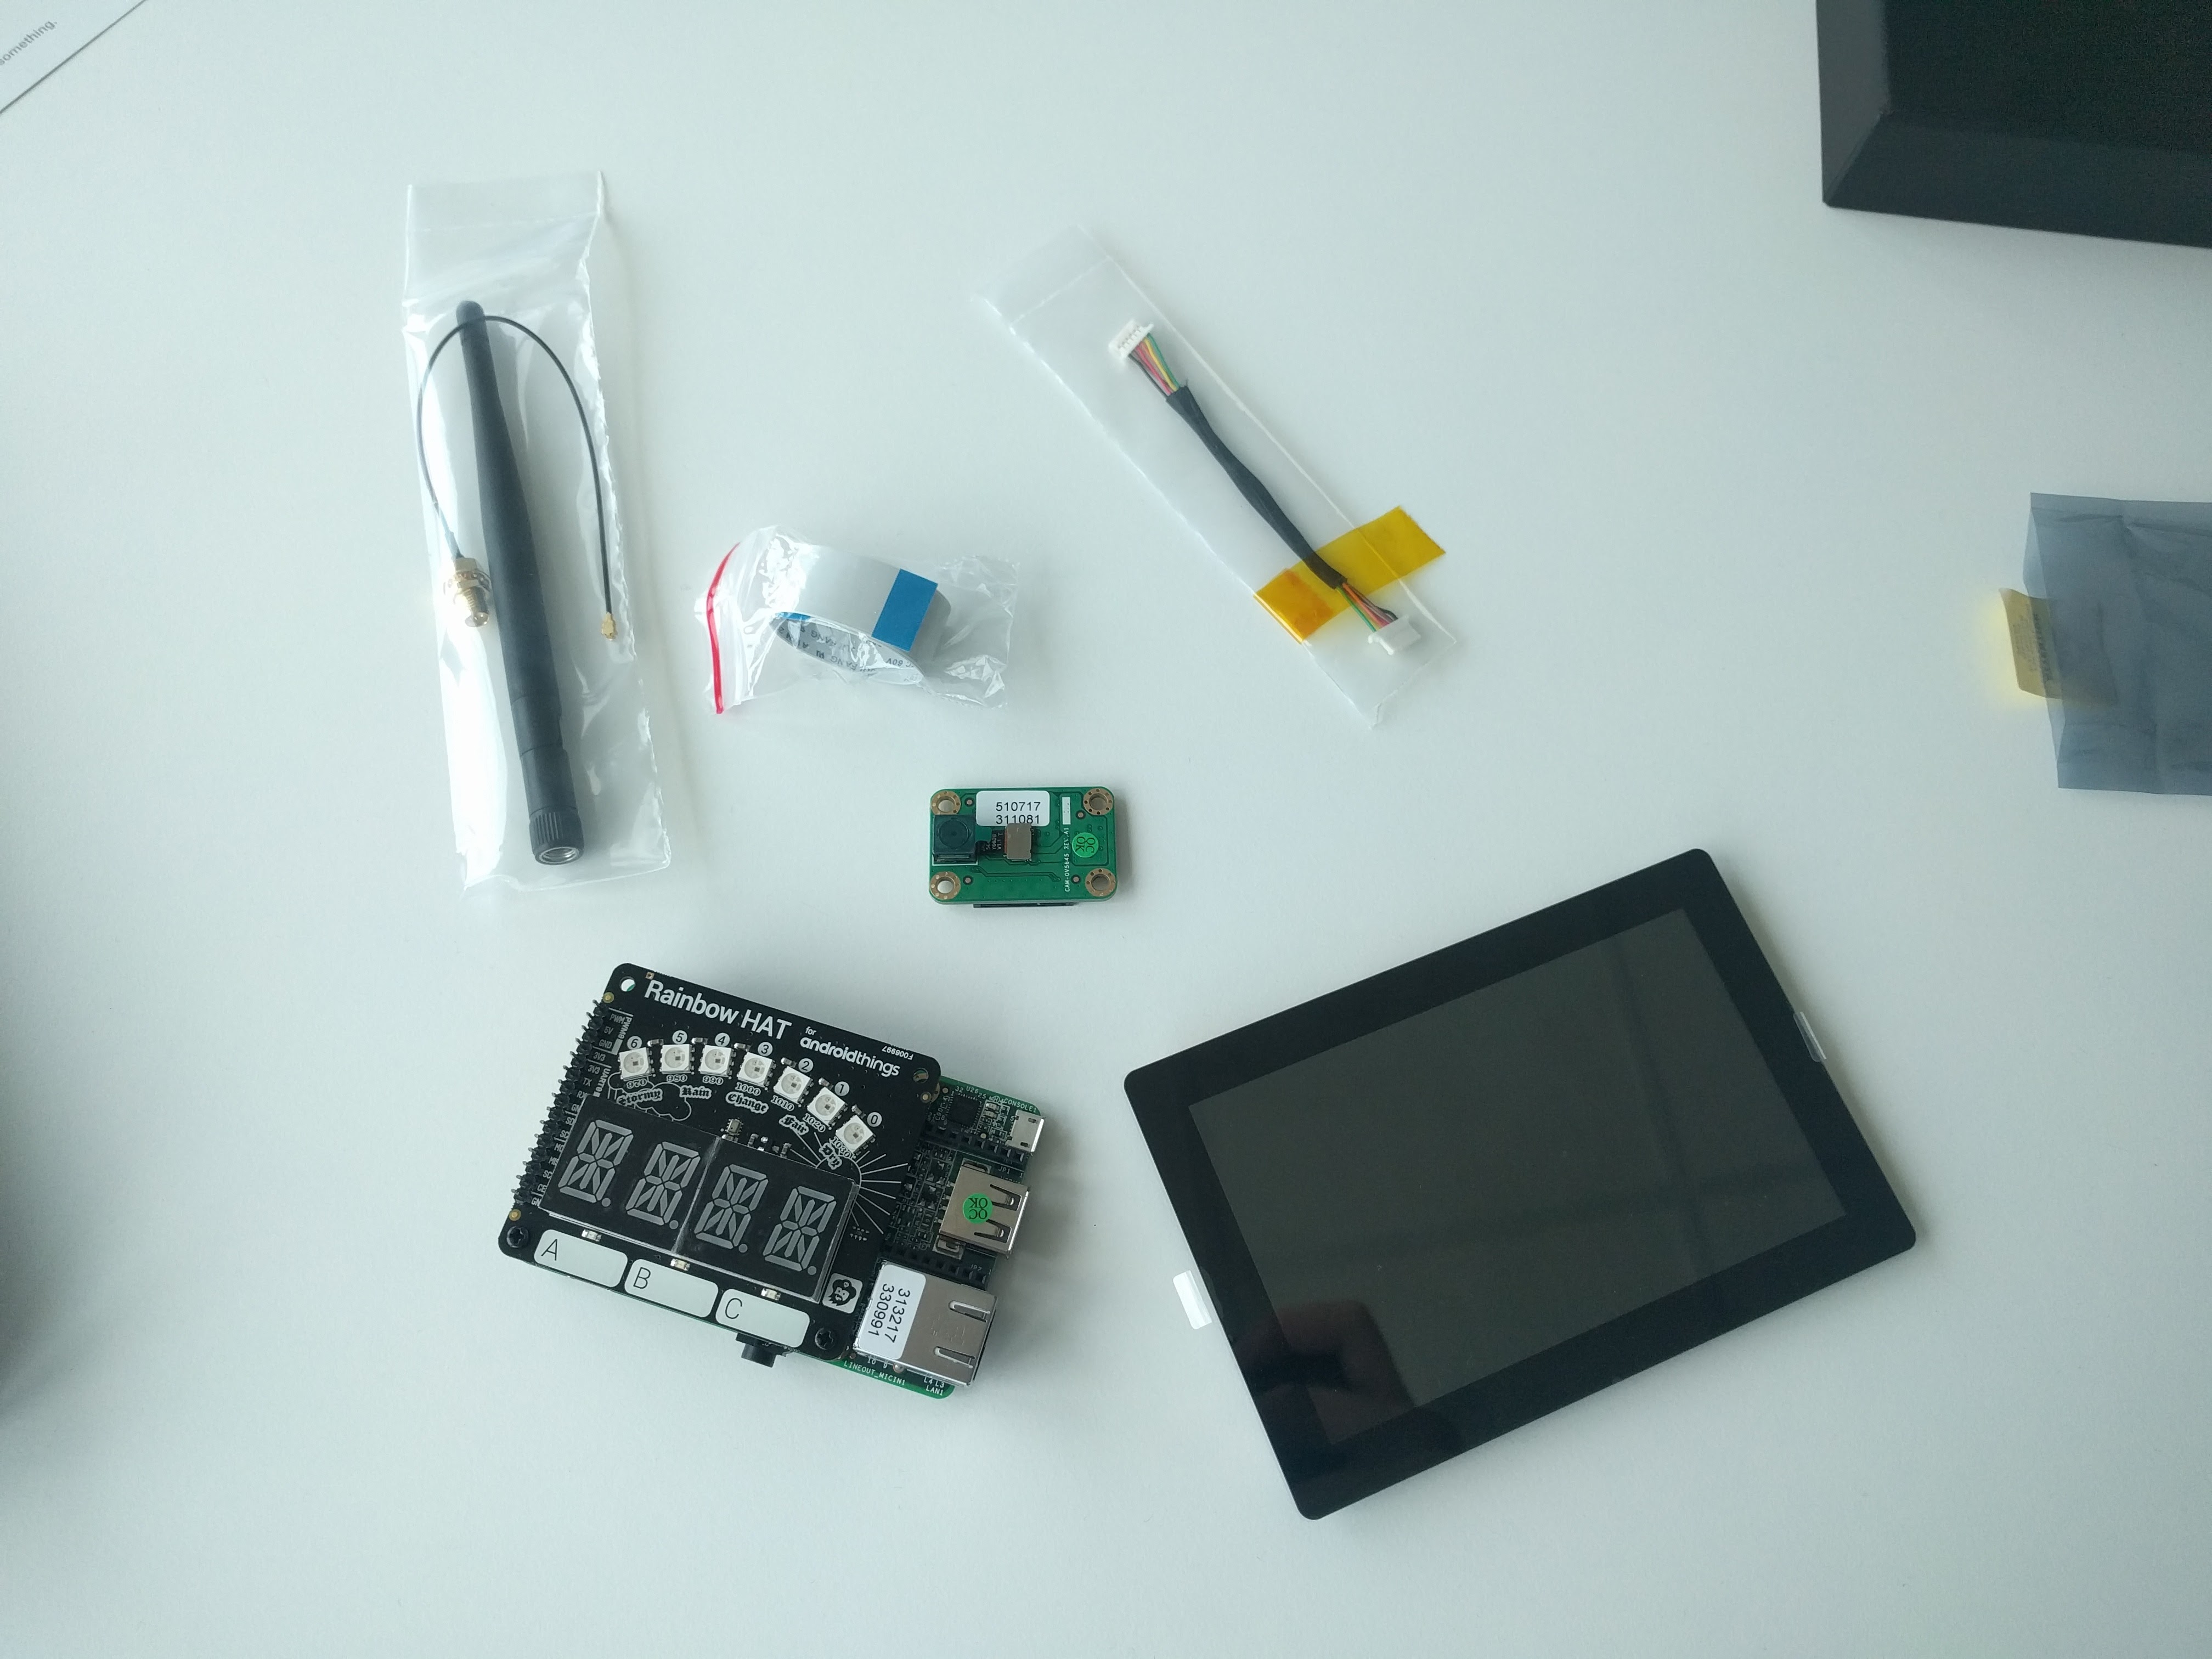
NXP Pico Pro with Rainbow Hat and Rasbery Pi3
For the purpose of the training session, Google provided every attendee with NXP Pico Pro developer kit and the Rainbow Hat add-on. How nice! Rainbow Hat contains set of led lights and buttons along with the simple alphanumeric display and sensors such temperature or atmospheric pressure. The obvious choice of this session was a weather station app.

NXP Pico Pro Developer Kit with a Rainbow Hat add-on already mounted
I was a bit surprised with the way Google decided to run these labs. Basically, they provided us with a hardware and a tutorial for the whole process. Googlers were there just to help in case of problems. I was rather lucky. The only problem I had were led lights not functioning on my device. But guess what fixed that – turning the device off and on again.
Grabbing the OS
But first things first. Having a device is one thing. This alone isn’t running on an Android Things system yet. You need to grab one and then flash it onto the device. The process is very easy – I liked NXP from the start because of that.
To get the latest build of system image please use the instructions that Google provided us on this training session. I made a copy of it for further generations.
Setup
Now when you have a system image downloaded to your hard drive it’s time to flash it to the Pico Pro. Just connect the device to your computer using USB-C – USB cable. USB-C end goes to the device. 😉 It was funny to observe all the problems new mac book pro computers created during the session.
Unzip the system image file the way you like. You’ll need to enter command line for the next step anyway so you might as well do it this way:
$ unzip
Start flashing:
$ ./flash-all.sh
or for Windows computers:
$ flash-all.bat
It will take some time. Observe the progress in the console. Even after it’s done be prepared to wait a couple of minutes until the system boots on the device for the first time. Ok, so how you can tell it’s ready without having a display connected?
You can try to connect the device to your wi-fi using this command:
$ adb shell am startservice -n com.google.wifisetup/.WifiSetupService -a WifiSetupService.Connect -e ssid "wifi_ssid" -e passphrase "wifi_password"
If it throws an error at you, it probably means that it’s not ready yet. If anything else went wrong, which is rather hard to tell, but Google provided us with troubleshooting instructions that might help.
Another way to check it without connecting to the Wi-Fi is to execute:
adb devices
If the device is ready, it will be listed in the console.
You’ll have to mount the Rainbow Hat add-on at some point. It doesn’t really matter when. You just need to do it before you can start coding. Which happens now 😉

Attaching Rainbow Hat to the NXP Pico Pro
Code
To build anything for Android Things, you’ll need Android Studio 3, which is currently in a beta phase. Then you need to follow the codelab provided by Google to build your app. It’s a very simple one. Inpatient ones might wanna just use the final project and read the activity code – they will do just fine.
Assuming you’re done, you have your brand new weather station with one main issue. Temperature is way too high, compared to what it is really, and it keeps raising. It keep ocurring because Rainbow Hat temperature sensor is in close proximity to the CPU. I looked for a solution to suppress that without making some hacky extension belt for the Hat and Pico Pro connection. I tried to get CPU temperature inside the app but I failed. Trying to execute any command with Runtime.getRuntime().exec() fails with Permission denied.
Althought it’s possible to read this temperature on your computer running:
$ adb /sys/class/thermal/thermal_zone0/temp
Maybe my readers will have a better idea because I’m stuck with this 🙂
Android Things possibilities
But what next? There is plenty we can do with Android Things and Pico Pro dev kit. I’d love to see your ideas in the comments section! You just need to remember that you need to take care yourself of the drivers handling peripherals you wish to connect. I’m not a big fan of a low-level programming. Here is a bunch of drivers that exist as libraries already, you can start with that.
Also, if you need inspiration check out these Google hacksters ideas. Some of them I’ve seen in action on GDD Europe. Mind that Basic Pico Pro dev kit contains attachable modules as camera and multi touch screen. At some point you might wanna extend your knowledge of working with bread boards. This way you’ll be able to attach more third party components like sensors, buttons and more.
NXP Pico Pro Dev kit elements. Rainbow Hat add-on mounted.