


Layer assets
The basic building block in Pixate is the “layer”. To each layer you can attach animations or trigger interactions based on non trivial conditions. However, to start using Pixate, you need user interface elements. I use the Sketch app to prepare my UI assets first. If you are a novice in prototyping, start by downloading freebies from http://sketchapp.tv/ or follow @sketchapptv on twitter to get daily updates. Sketch also gives well crafted templates for iOS and material design, so starting with your own UI is super easy. In this article you can read some more tips how to start with Sketch.
Exporting assets from Sketch
Exporting assets from Sketch is straightforward. To do this simply indicate folder where you put all project assets. Instead of naming a group of layers or for the whole artboard, declare a path for concrete layer. It will save you a lot of trouble with versioning, UI elements updating, exchanging prototype with your team. Every time you change something in Sketch you can simply click export and it will change an asset in a folder instantly.
Download the mobile app
You should encourage all team collaborators, stakeholders to download the app for mobile devices to preview changes. It assures that everybody is on the same page with prototype updates. It is also a great feature to test prototypes remotely, directly in user or customer native environment (on his mobile device).
Duplicate prototype
Prototyping is an iterative process. The main purpose of the prototype is to discover design solutions and gather feedback from people. While prototyping you will do a lot of changes. Every time you receive a feedback do a duplicate of prototype. It doesn’t cost you anything and you will have the whole story behind your work, all ideas in one place.

Preview prototype
To make your workflow with prototype sleek and effective, you need to see constantly details of a prototype on a bigger screen not only on mobile device. Only then you will be sure that each tiny detail works exactly as you designed it. To preview a prototype on a larger screen plugin your mobile device and start capturing screen on QuickTime Player.
Organize layers
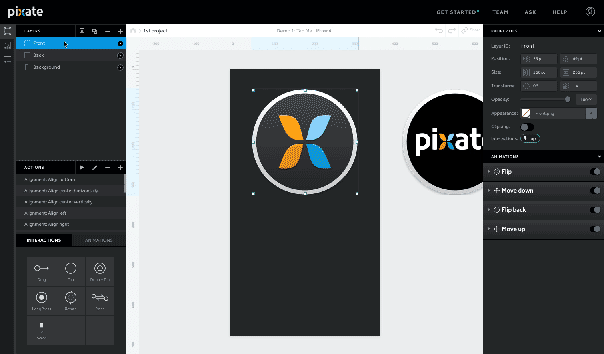
Like I mentioned before, layers are building blocks in Pixate. You can attach animations and trigger interactions to them. It is important to create proper hierarchy and organize structure of layers. It is crucial when prototype is growing. You can create hierarchy by nesting and naming layers. To nest layer just name parent layer and drag child layer to the parent. Remember some of the interactions like “reorder” works only in scope of parent layer.
Reorder layers
My first mistake when starting prototyping with pixate was using a lot of fade animation to create a flow between layers. To create clean routing between main navigation elements (like for instance in navigation drawer) we should use a reorder animation. Make sure your main elements are nested into parent – app layer.

Name interactions
When creating a prototype in Pixate, it is a good practice to name all the interactions, especially when you work with a larger team of UX Designers. Leaving default names for interactions may decrease readability and make it difficult for others to work with your prototype.

Use actions
Lately, Pixate team introduced new amazing feature which is called the ‘Actions’. You can reuse someone else’s code and just run it to scaffold whole app with animations, interactions and layers. After running an ‘Action’ script you can fill it with your assets.

Pixate community
Finally, the Pixate community is growing stronger. There is a lot of showcases, know-how tips, and also some feature requests, you can upvote. Support responds quickly on each request. So if you encountered any problem using this tool you can rest assured somebody will help you.